In case you want to add a logo or image to your mapping project, you can import this element as an SVG, PNG, or JPG file. Drag and drop your file into Mapcreator, and it will automatically appear on your map.

Once the file is added to your map, you can select it by clicking on it to open the ‘’Styling’’ menu. Here, you can adjust its size and rotation, add a label, allow overlapping with other elements, and lock its position. Please note that if the file extends beyond the map frame, it may seem like it was not imported. In that case, try allowing overlapping or reducing the size of the image.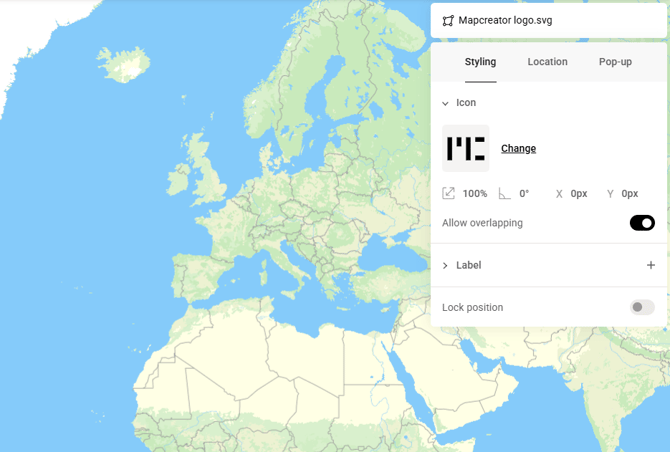
In the ‘’Location’’ menu, you can add specific coordinates or search for an address to change the location where your image is added. You can also drag and move it around manually.
In ‘’Layers’’, under ‘’Custom Elements’’ you can find your added file. Here you can click the three dots to move it above or below other map elements.

Imported files are for single use only, these are not saved to your icon or text box library. In case you want to always have certain image on hand, contact Mapcreator’s Support Team to add these to your existing library.